SCADA Software
ATSCADA Blockchain Toolkit – Secure Industrial Data Management with Smart Technology
Introduction
Real-world issues in industrial SCADA systems
SCADA data is the lifeblood of smart factories, but 73% of industrial security incidents originate from undetected data modification.
Traditional risks
Log files can be deleted or edited after an incident (no legal evidence).
Silent data tampering cannot be detected (data is changed while the system continues operating normally).
Manual audits take 3–5 days for each inspection.
Does not comply with ISO 27001 / IEC 62443 standards for critical industries.
ATSCADA Blockchain Publisher Solution
LAYER 1: HASH CHAINING (On SCADA)
Each record contains PreviousHash + CurrentHash.
Any modification will break the entire hash chain.
LAYER 2: IMMUTABLE STORAGE (On IPFS)
JSON files are uploaded to Pinata IPFS.
Content-addressed storage → CID is the unique fingerprint of the file.
LAYER 3: BLOCKCHAIN RECORD (On Sepolia)
CID + ChainHeadHash are recorded on the blockchain.
Cannot be deleted or modified → Permanent legal evidence.
LAYER 4: CHAINLINK VERIFICATION (Oracle Network)
Chainlink Oracle automatically fetches files from IPFS.
Recomputes hash chaining → Compares with ChainHeadHash on the blockchain.
Results are recorded on the blockchain (VerificationResult event).
Objective: Help business managers preserve data and maintain data integrity, preventing unauthorized or incorrect data modifications through ATSCADA Blockchain.
Requirements
Operating System: Windows 10/11 (64-bit)
RAM: Minimum 8GB (16GB recommended)
Free Disk Space: At least 4GB
A decentralized crypto wallet such as MetaMask is required to perform publish transactions for ATSCADA Blockchain.
Technical Architecture & Security Model
SCADA Application (On-Premises)
Writes data to JSON files:
iDataBCLogger → datalog_.json
iAlarmBCLogger → alarmlog_.json
Applies Hash Chaining to ensure data integrity:
Each record contains:
Index
PreviousHash (hash of the previous record)
CurrentHash (hash of the current record)
Data (SCADA data: TagName, Value, etc.)
Files are rotated:
When reaching ~10MB
Or daily
ATSCADA Blockchain Publisher (Windows Service)
a. Auto-Publish Service (Background)
Automatically runs in the background:
Scans folders every 5 minutes
Skips files currently being written (lastWriteTime < 15s)
Checks data integrity (hash chain)
Prevents duplicate publishing (checks ChainHeadHash on the blockchain)
b. User Interface (History Tab)
Allows users to:
Filter by time (From / To Date)
Filter by Tag (Temp, Humi, Pressure, etc.) for applications such as hospital temperature humidity monitoring systems.
View detailed JSON data (from IPFS)
Export Excel reports
External Services
IPFS (Pinata)
Upload file → receive CID
Blockchain (Sepolia)
Store CID + ChainHeadHash
Chainlink Oracle
Verify hash chain
Record verification results on the blockchain
Overall Workflow
- SCADA writes data → JSON file (with hash chaining)
- Service reads file → checks → uploads to IPFS
- Receives CID → records on the blockchain
- Oracle verifies data integrity for ATSCADA Blockchain

Installation and Initial Configuration
Follow the recommended project deployment guide before configuring the application environment.
1. Prepare the Blockchain Environment
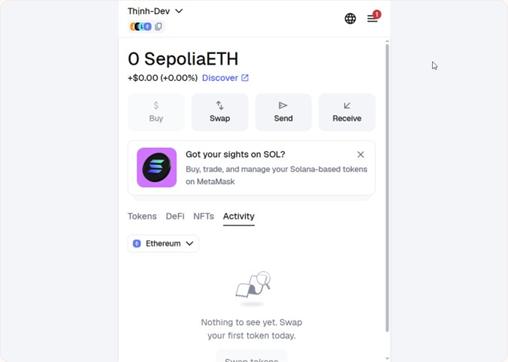
a) MetaMask
i. Purpose: Manage Private Keys
ii. Registration Link: https://metamask.io/
iii.
b) Sepolia Faucet (or another Publish Blockchain network)
i. Purpose: Manage Publish Blockchain data for ATSCADA Blockchain.
c) Pinata (or another IPFS network)
i. Purpose: To manage data files on IPFS
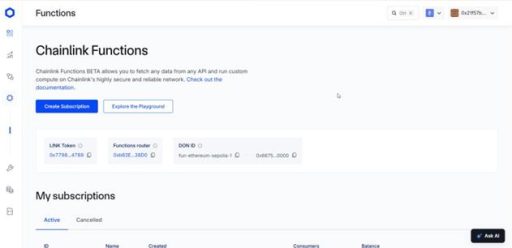
d) Chainlink Functions
i. Purpose: Oracle verification
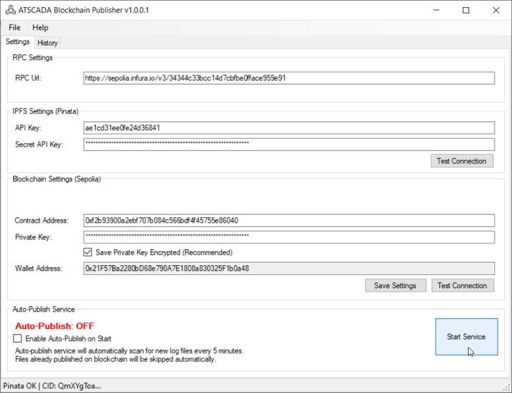
2. Application Configuration
Open ATSCADA Blockchain Publisher with Administrator privileges because the application will access the server’s C drive.

link your MetaMask wallet and create an API. Copy that API Key and paste it into the string: https://sepolia.infura.io/v3/[apikey]

create an API and copy the API Key + Secret Key.


g) Blockchain Settings (Sepolia):
Enter the Contract Address of the MetaMask wallet.
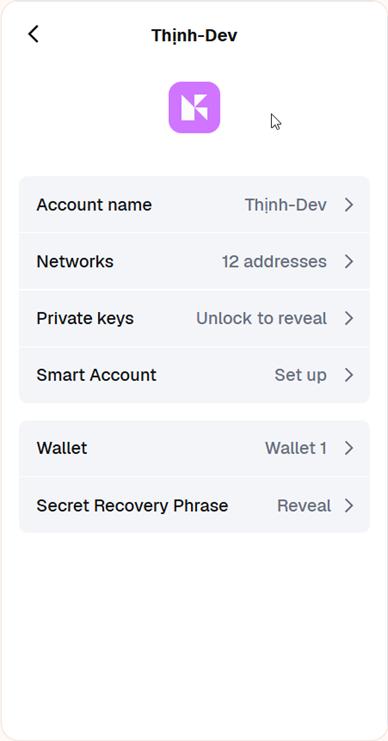
To obtain the MetaMask Private Key, go to Accounts => Account Details => Private Keys => enter the wallet password and copy the Private Key.
Then click on Test Connection to get your Wallet Address:
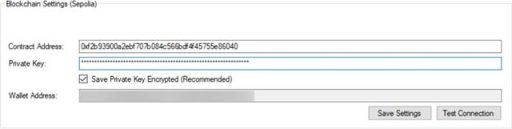
Finally, click Save Settings to save all the settings for future use.
Step-by-step instructions:
Step 1: Prepare the data files logged from iDataBCLogger & iAlarmBCLogger
Open ATDriverServer and register the following tags:
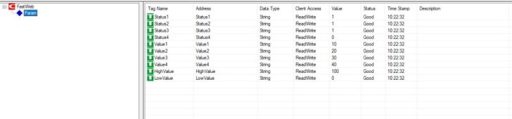
Register tags with iTagBuilder.
Open Visual Studio => Create New Project => Windows Forms Application => select .NET Framework 4.5.
Drag the iDataBCLogger tool into Form1.
- Setting properties:
- Driver: Select iDriver1
Collection:
Build and run the application with administrator privileges because the data files will be saved to the server’s C drive.
Step 2: Upload files via ATSCADA Blockchain Publisher
Start Service: Proceed with uploading the data file just saved from the iDataBCLogger tool.

Step 3: View the results
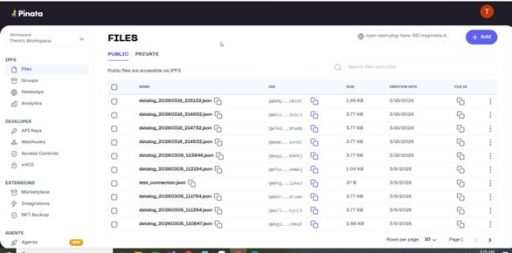
1. View the data on Pinata
Access the Pinata website => Log in to your account
https://app.pinata.cloud/ipfs/files
You will see the latest file that Blockchain Publisher has just uploaded.
![]()
You can click to view the file contents:
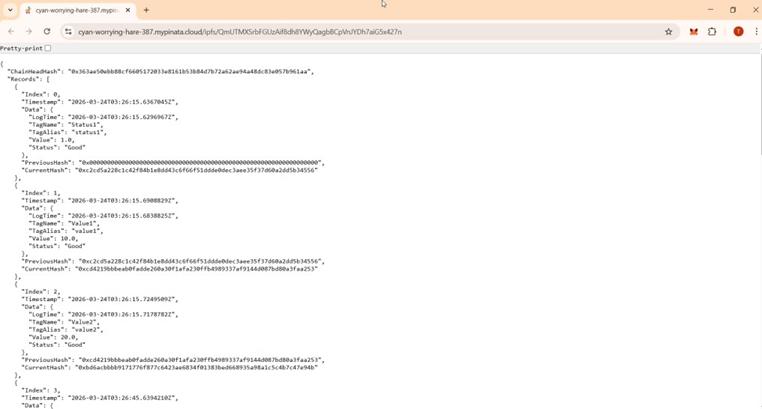
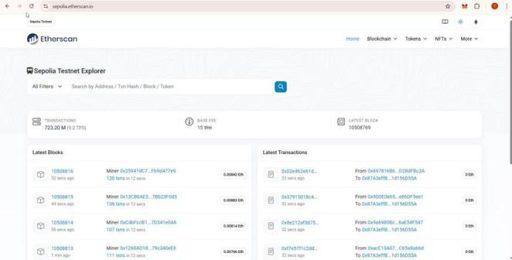
2. Viewing data on the Publish Blockchain
- Access the page https://sepolia.etherscan.io/
- Copy the Wallet Address from the ATSCADA Blockchain Publisher software and paste it into the search field.
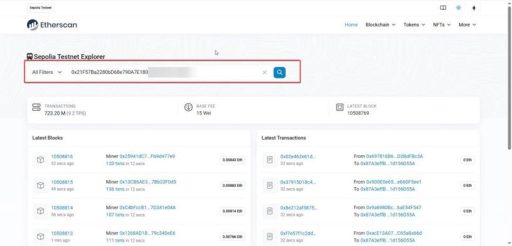
- You will see information about the transactions that have just been made.

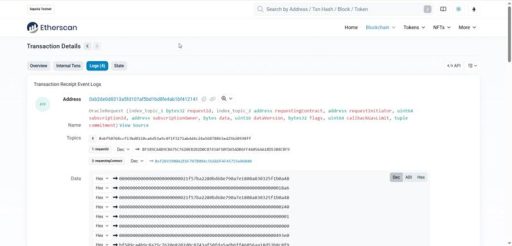
- Click on a transaction, then switch to the Logs tab.
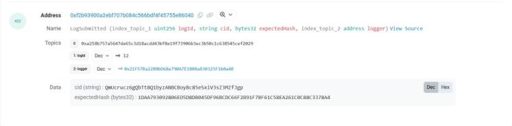
https://gateway.pinata.cloud/ipfs/QmUcrucz6gQbTt8Q1byzANBCBoyBc85eSxiV3sZ3MZfJgp
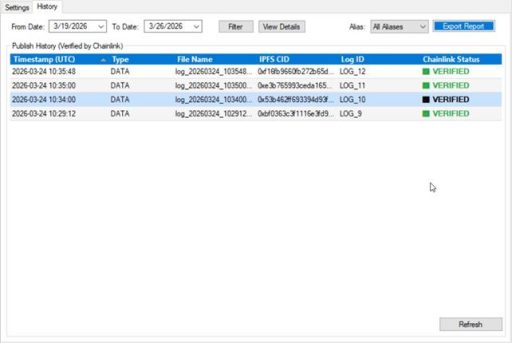
3. View data on the ATSCADA Publish Blockchain application. Switch to the History tab to view the file publishing history.
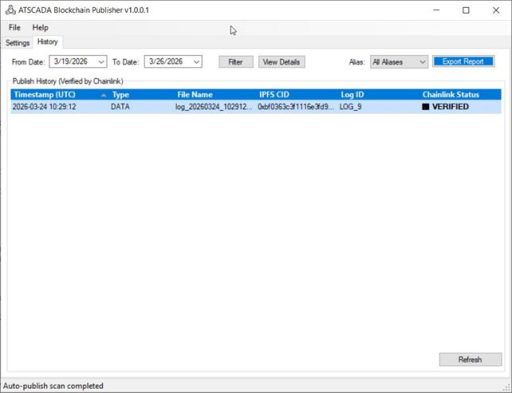
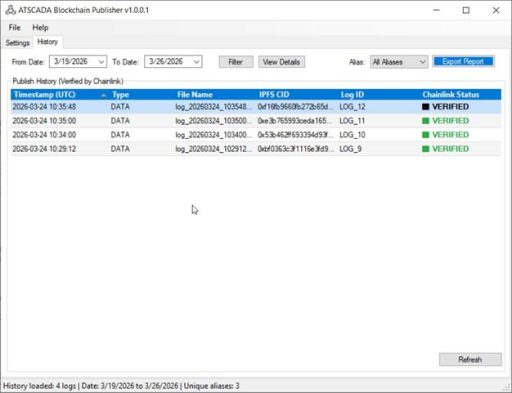
To view the details of a published file, select a file and click View Details.
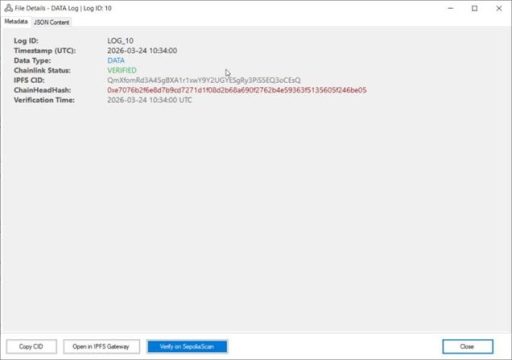
Users can click on Verify on SepoliaScan to redirect to view transactions on the Sepolia network, similar to the previous step.
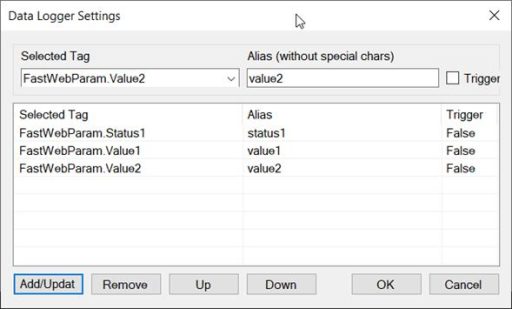
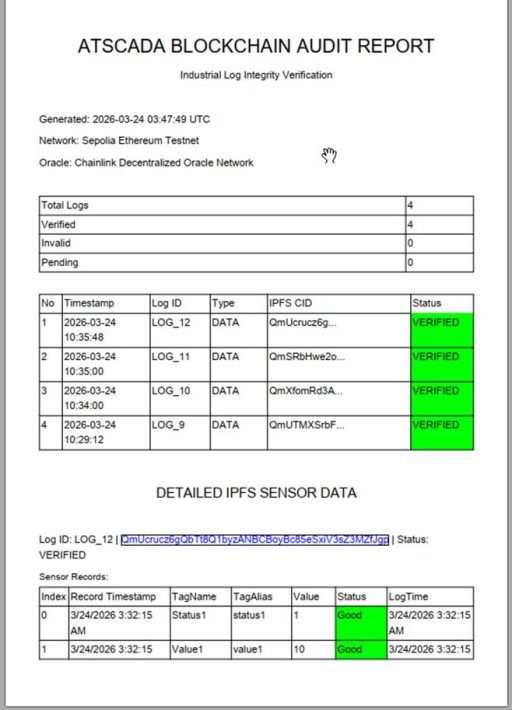
Step 4: Export Report
Users can export reports to view detailed data files as well as the publish time of ATSCADA Blockchain.

ATSCADA - Smart SCADA Software with AI Predictor & Blockchain. ATSCADA is an advanced SCADA software platform for real-time monitoring, intelligent control, and efficient data acquisition. It is ideal for Industrial IoT (IIoT), smart cities, integrated automation systems, and Agriculture 4.0. With a built-in AI Predictor, ATSCADA enables predictive analytics to detect issues early, optimize performance, and reduce downtime. The integration of Blockchain technology ensures secure, transparent, and tamper-proof data management. Highly scalable and easy to integrate, ATSCADA is trusted by businesses to enhance productivity, strengthen cybersecurity, and accelerate digital transformation.
Bài viết liên quan
ATSCADA CookBook: Complete Guide to System Architecture, Tools, Installation & Troubleshooting
The ATSCADA Training book is an essential navigation structure that helps users access all major [...]
Apr
Common ATSCADA Errors and How to Fix Them – FAQ for ATSCADA Tools and Systems
Issues Related to ATDriverServer & iTagBuilder Software Why Does ATDriverServer Not Open? There are two [...]
Apr
ATSCADA Power Management System
Requirements: There are 3 areas that require power management, including a factory, a residential zone, [...]
Apr
ATSCADA Hospital Temperature and Humidity Monitoring Alarm System Project
Requirements: The system includes three monitoring areas: the pharmacy, inpatient warehouse, and cold storage, following [...]
Apr
ATSCADA Project Deployment Guide: Create and Run Projects on Another Computer
ATSCADA Project Deployment is an essential process for transferring a completed SCADA project from the [...]
Apr
How to Create a New Custom Component for Windows Forms Applications
Purpose of the Component This ATSCADA Custom Component is designed to automatically accumulate values from [...]
Apr